Updating your Shopify theme might seem complicated, especially if this is your first time doing it.
Well luckily for you, it’s a relatively straightforward process to follow. But, you do need to do it correctly if you want to make sure your customization isn’t lost in the process.
In this article, we will be taking you on a step-by-step journey on how to update your Shopify theme without losing any customization.
Using Shopify Themes Store
You might be familiar with this method of updating themes for your Shopify Store. If not, then have a look at the below steps:
Step 1: Create a backup copy of your existing theme.
- From your Shopify admin, go to Online Store > Themes.
- For the theme that you want to duplicate, click Actions > Duplicate.
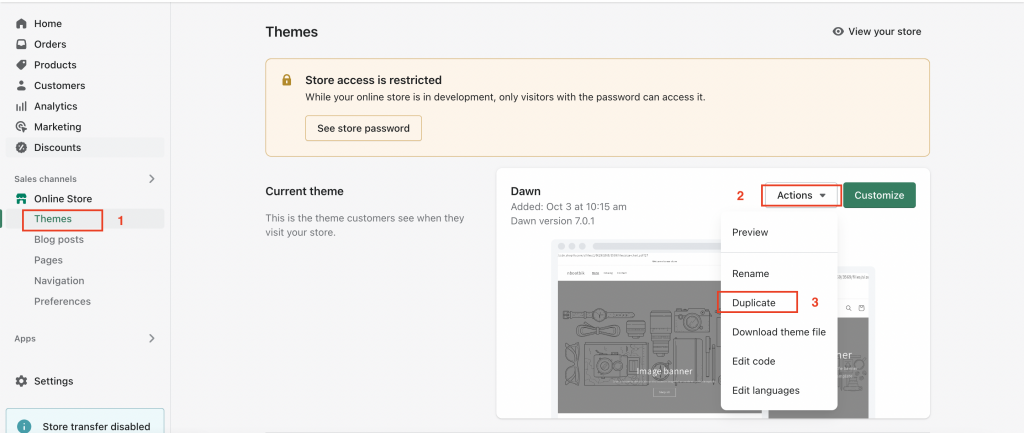
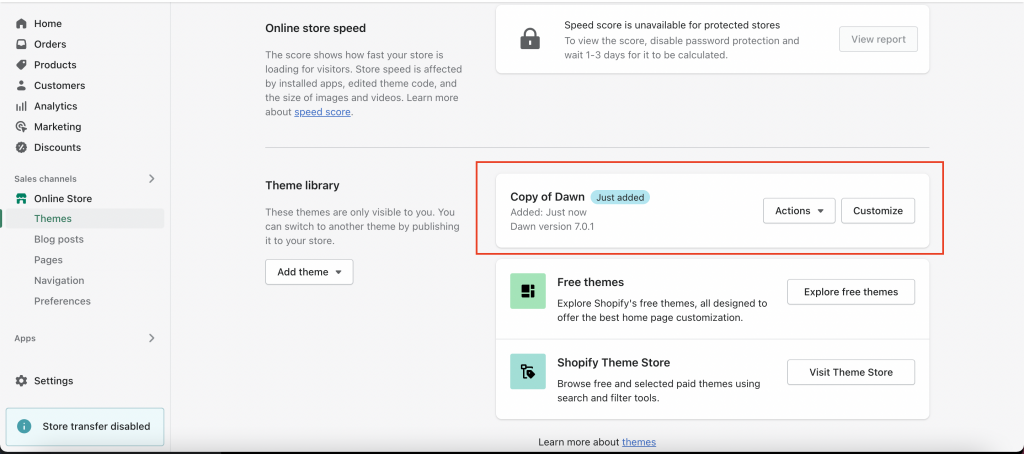
This will create a new theme-backup of your current theme as shown below:
Step 2: Visit the Shopify Theme Store and log in.
Step 3: Search for your theme in the search box.
Step 4: On the search results page, click on the theme you are currently in.
Step 5: Click Add latest theme version button.
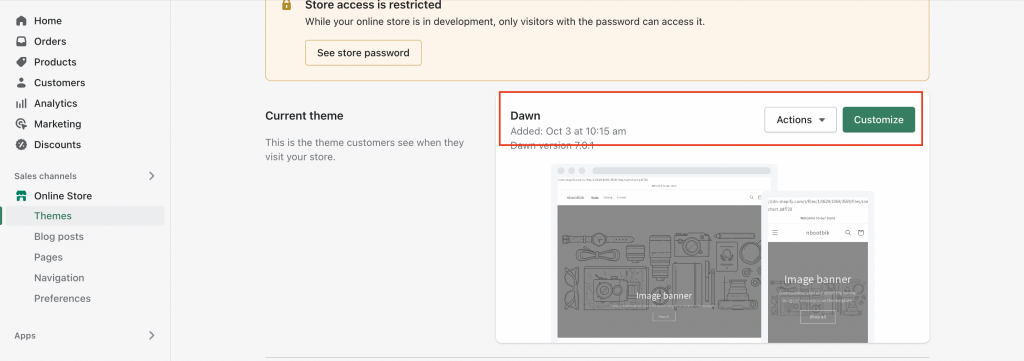
You can see the latest theme version is added to your theme library as shown below:
Step 6: Customize your Shopify theme using the theme editor. OR Copy the theme settings code from the current theme and add it to the new theme version.
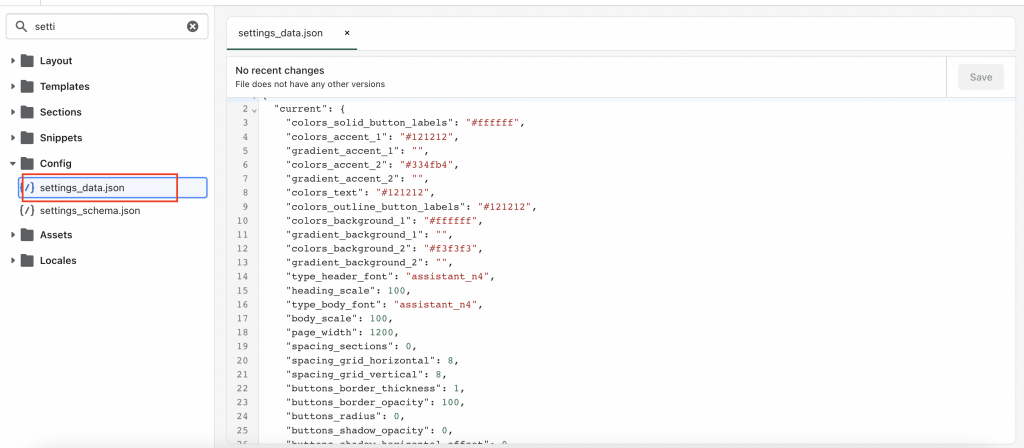
- Open the theme settings file: Action > Edit Code.
- Scroll down to Config > Open settings_data.json.
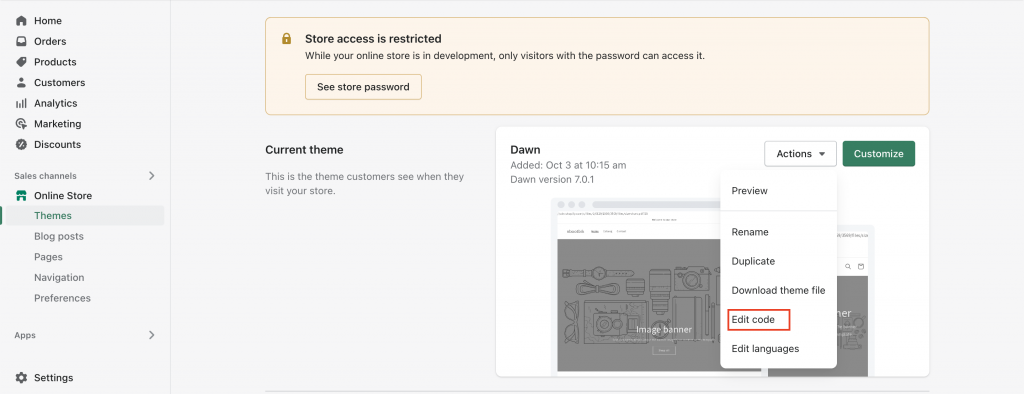
Copy the entire code (from settings_data.json file of the current theme) and paste it on the settings_data.json file of the new theme version.
Step 7: You can test the new theme extensively and make sure everything works as expected.
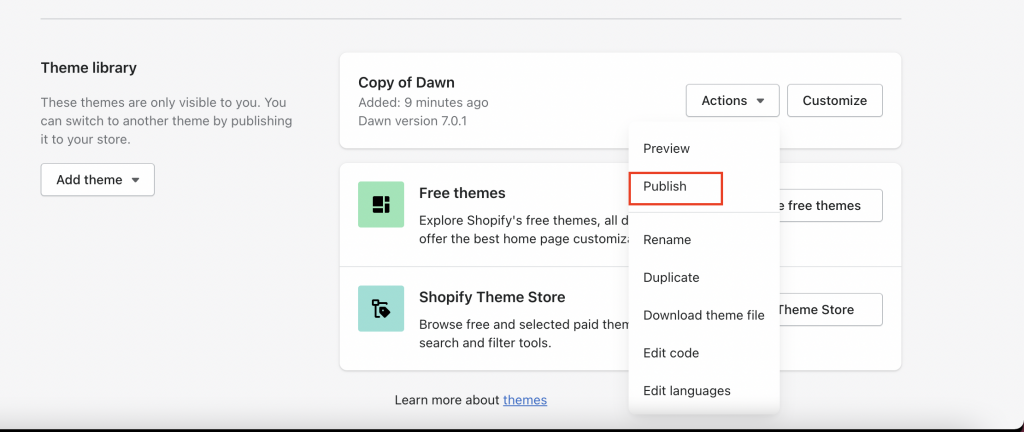
Step 8: Once you’re ready, simply publish the new theme as the main theme.
This one can be quite a lengthy and confusing theme updating process for you. Let’s move to the easiest method that will help you to update your theme in just 2-3 minutes.
