
Introduction
In the rapidly evolving world of e-commerce, having a strong online presence is crucial for business success. One of the most effective ways to track user behavior and optimize your marketing efforts is by utilizing Facebook pixels. These little snippets of code help you gather valuable insights into your customers’ actions on your website. For Shopify store owners, the Pixefly app offers a streamlined solution to incorporate multiple Facebook pixels, enhancing your marketing strategies and boosting conversions. In this guide, we’ll walk you through the process of adding multiple Facebook pixels to your Shopify store using the Pixefly app.
Understanding Facebook Pixels
Before we dive into the details of using Pixefly, let’s briefly understand what a Facebook pixel is and why it’s important. A Facebook pixel is a piece of code that you place on your website to collect data on user interactions. This data includes page views, purchases, sign-ups, and more. With this information, you can create targeted advertisements, track conversions, and measure the effectiveness of your campaigns.
Introducing Pixefly: Simplifying Pixel Management
Pixefly is a user-friendly app designed to make the process of adding and managing multiple Facebook pixels on your Shopify store hassle-free. Its intuitive interface allows you to effortlessly integrate various pixels and begin tracking user activities for improved marketing insights.
Step-by-Step Guide to Adding Multiple Facebook Pixels using Pixefly
Step 1: Install Pixefly
- Log in to your Shopify admin panel.
- Navigate to the Shopify App Store and search for “Pixefly.”
or Click here Pixelfy – Facebook Multi Pixels
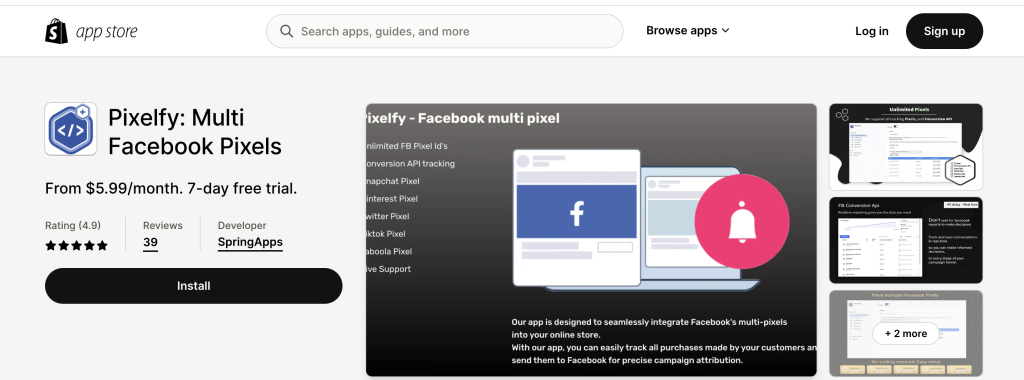
Install and activate the Pixefly app.
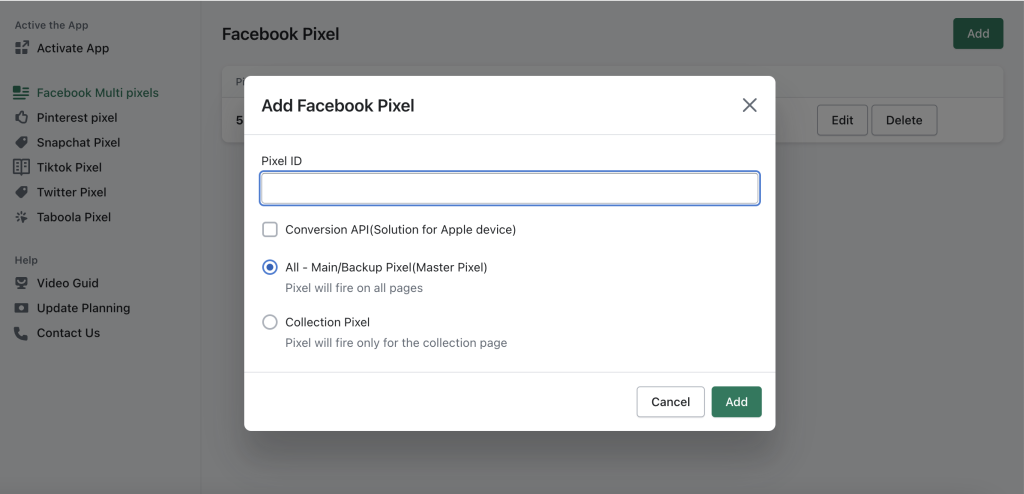
Step 2: Add a New Pixel
- Open the Pixefly app from your Shopify dashboard.
- Click on the option to “Add New Pixel.”
- Copy the Facebook pixel ID from your Facebook Ads Manager.
- Paste the pixel ID into the designated input field within the Pixefly app.
- Click the “Save” button to confirm.
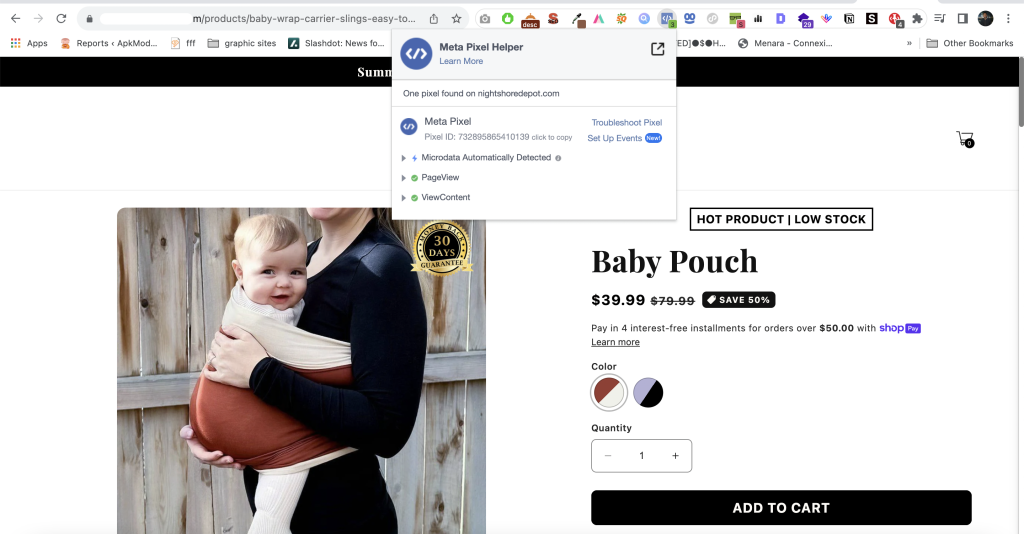
Step 3: Verify Pixel Installation
- After implementing the pixel codes, it’s crucial to test them to ensure they’re tracking correctly.
- Use Facebook Pixel Helper, a Chrome extension, to check if the pixels are firing as expected.
Step 5: Repeat for Additional Pixels
- If you have more than one Facebook pixel to integrate, simply repeat the process from Step 2.
- Paste the corresponding pixel ID for each pixel.
Step 6: Monitor Pixel Performance
- After adding and verifying the desired Facebook pixels, you can monitor their performance through the Pixefly app.
- Gain insights into user behavior, track conversions, and refine your marketing strategies accordingly.
Conclusion
In today’s competitive e-commerce landscape, understanding your customers and tailoring your marketing efforts accordingly is essential. Facebook pixels play a pivotal role in gathering valuable data for optimizing your online campaigns. Thanks to user-friendly apps like Pixefly, integrating and managing multiple Facebook pixels on your Shopify store has never been easier. By following the steps outlined in this guide, you can harness the power of pixels to make informed decisions, enhance user experience, and ultimately drive higher conversions.