
If you’re using the Prestige theme on your website and want to make your announcement bar bold, you can easily do so by following a few simple steps. In this article, we’ll walk you through the process of editing the code on your website to achieve this.
Step 1: Go to Online Store
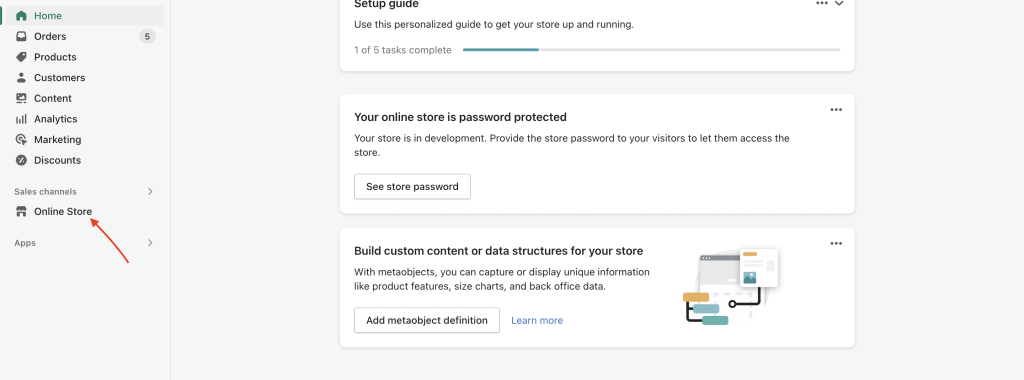
The first step is to go to the Online Store section of your Shopify dashboard. Here, you can manage all aspects of your store, including the theme and code.
Step 2: Edit Code
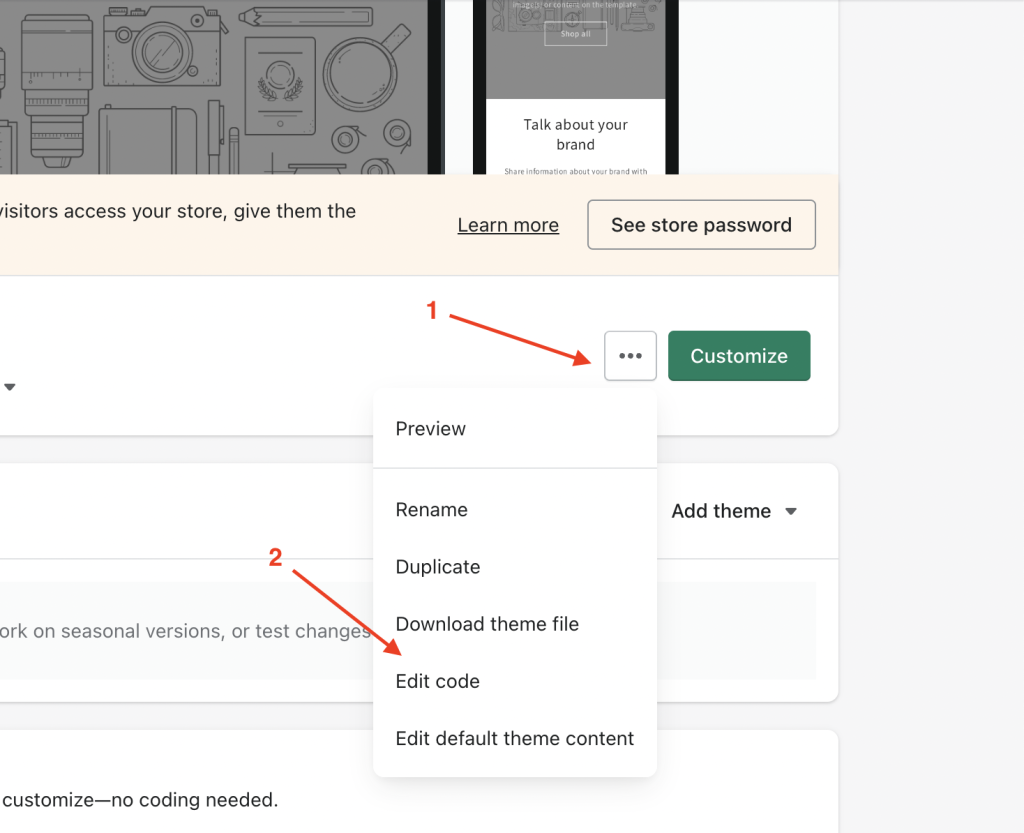
Once you’re in the Online Store section, click on the “Actions” dropdown menu and select “Edit Code”. This will take you to the code editor for your theme.
Step 3: Find theme.liquid file
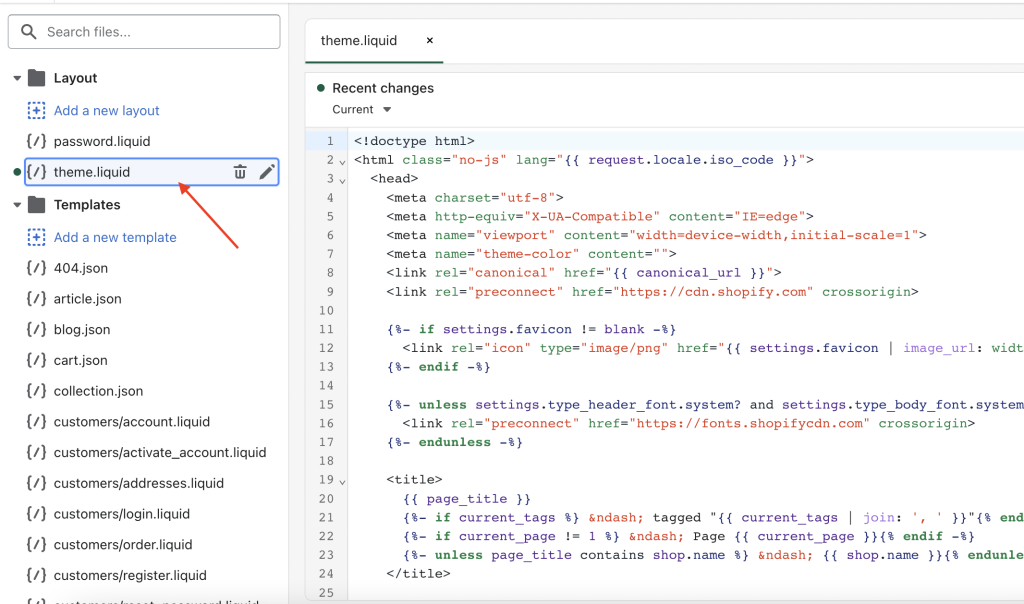
In the code editor, locate the “theme.liquid” file. This is the main template file for your theme, and it controls the overall layout and structure of your website.
Step 4: Add the following code in the bottom of the file above </body>

Once you’ve found the “theme.liquid” file, scroll down to the bottom of the file and add the following code above the </body> tag:
<style>

 p.AnnouncementBar__Content.Heading {     font-weight: bold; }

 </style>
This code targets the announcement bar and sets the font-weight to bold. Make sure to save the changes you’ve made to the file before exiting the code editor.
That’s it! By following these simple steps, you should now have a bold announcement bar on your Prestige theme website. Remember, always backup your theme