
As an online store owner, you might want to provide your customers with more customization options for your products. One way to achieve this is by creating custom boxes where customers can input specific details or preferences about the product they are purchasing. However, by default, these custom boxes are only visible when the customer clicks on them. This may cause confusion for some customers who are not aware of the existence of these custom boxes.
Fortunately, there is a simple solution to this problem. By adding some code to your theme.liquid file, you can ensure that the custom boxes you have created stay visible at all times. Here are the steps to achieve this:
Step 1: Go to Online Store -> Theme -> Edit code
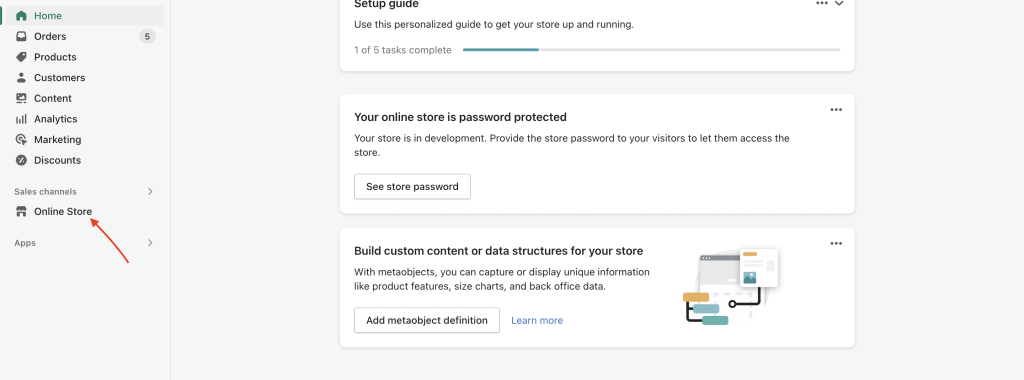
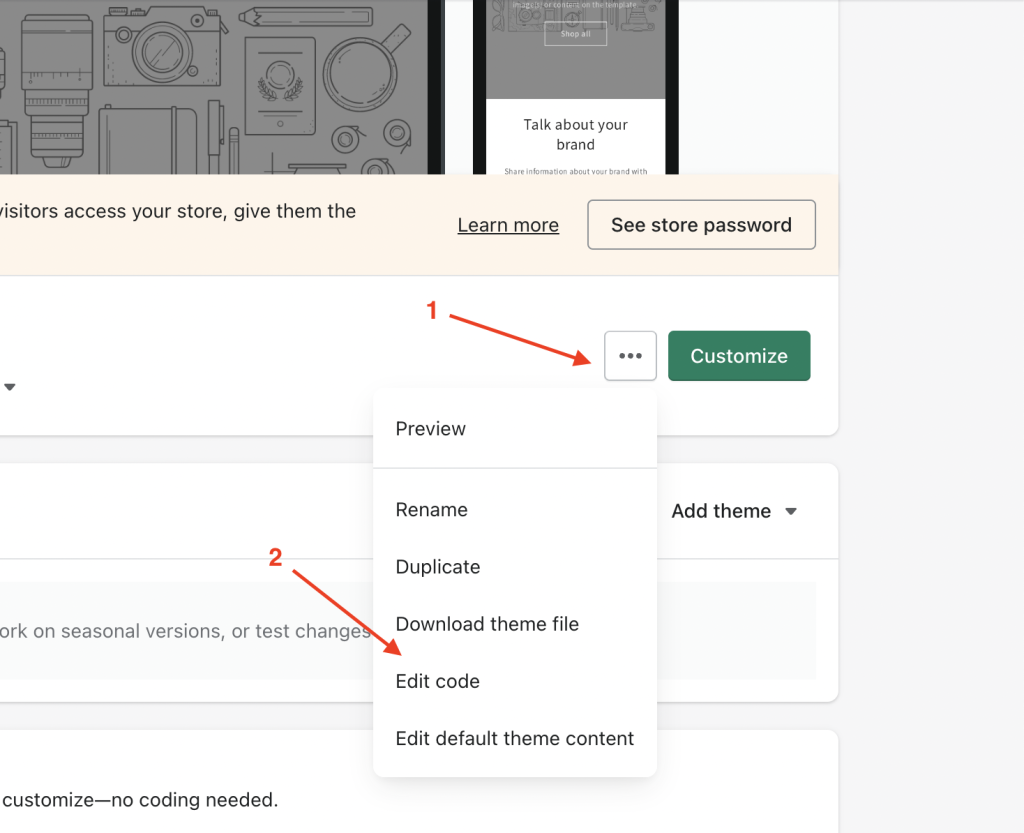
First, go to the “Online Store” section of your Shopify dashboard and select “Themes.” Then, click on “Edit code” for the theme you want to modify.
Step 2: Open your theme.liquid theme file
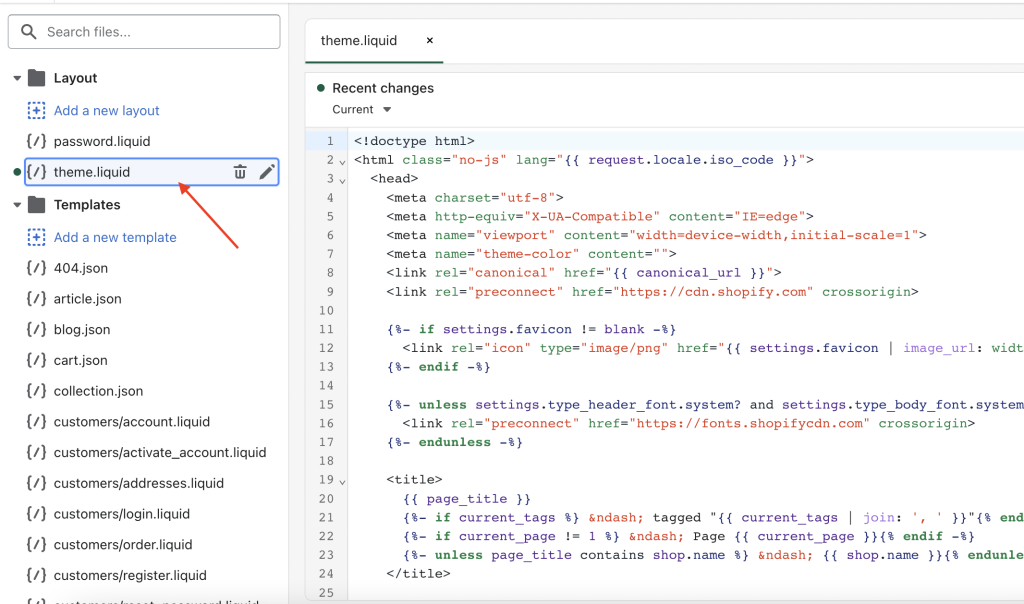
Once you are in the code editor, locate and open the “theme.liquid” file. This file contains the code that controls the layout and design of your online store.
Step 3: Paste the code snippet
Paste the following code snippet before the </body> tag:
<style>
 .product-form__input>.field__input {
border: 1px solid black;
}
</style>
This code adds a black border around the custom boxes, making them visible to customers at all times.
Step 4: Save and test
Save the changes you have made to the “theme.liquid” file and refresh your product page to see the result. You should now be able to see the custom boxes without having to click on them.
In conclusion, providing customization options for your products can improve customer satisfaction and increase sales. By adding the above code to your theme.liquid file, you can make sure that your customers are aware of the custom boxes you have created, and they can input the details they want without confusion or frustration.